General International 50-200R M1 Use and Care Manual Page 13
- Page / 32
- Table of contents
- BOOKMARKS
- SETUP & OPERATION MANUAL 1
- GENERAL® INTERNATIONAL 2
- MFG & GENERAL 3
- INTERNATIONAL WARRANTY 3
- TABLE OF CONTENTS 4
- RULES FOR SAFE OPERATION 5
- ELECTRICAL REQUIREMENTS 6
- BASIC FUNCTIONS 8
- UNPACKING 8
- PLACEMENT WITHIN THE SHOP / 9
- ESTABLISHING A SAFETY ZONE 9
- CLEAN UP 9
- ASSEMBLY INSTRUCTIONS 10
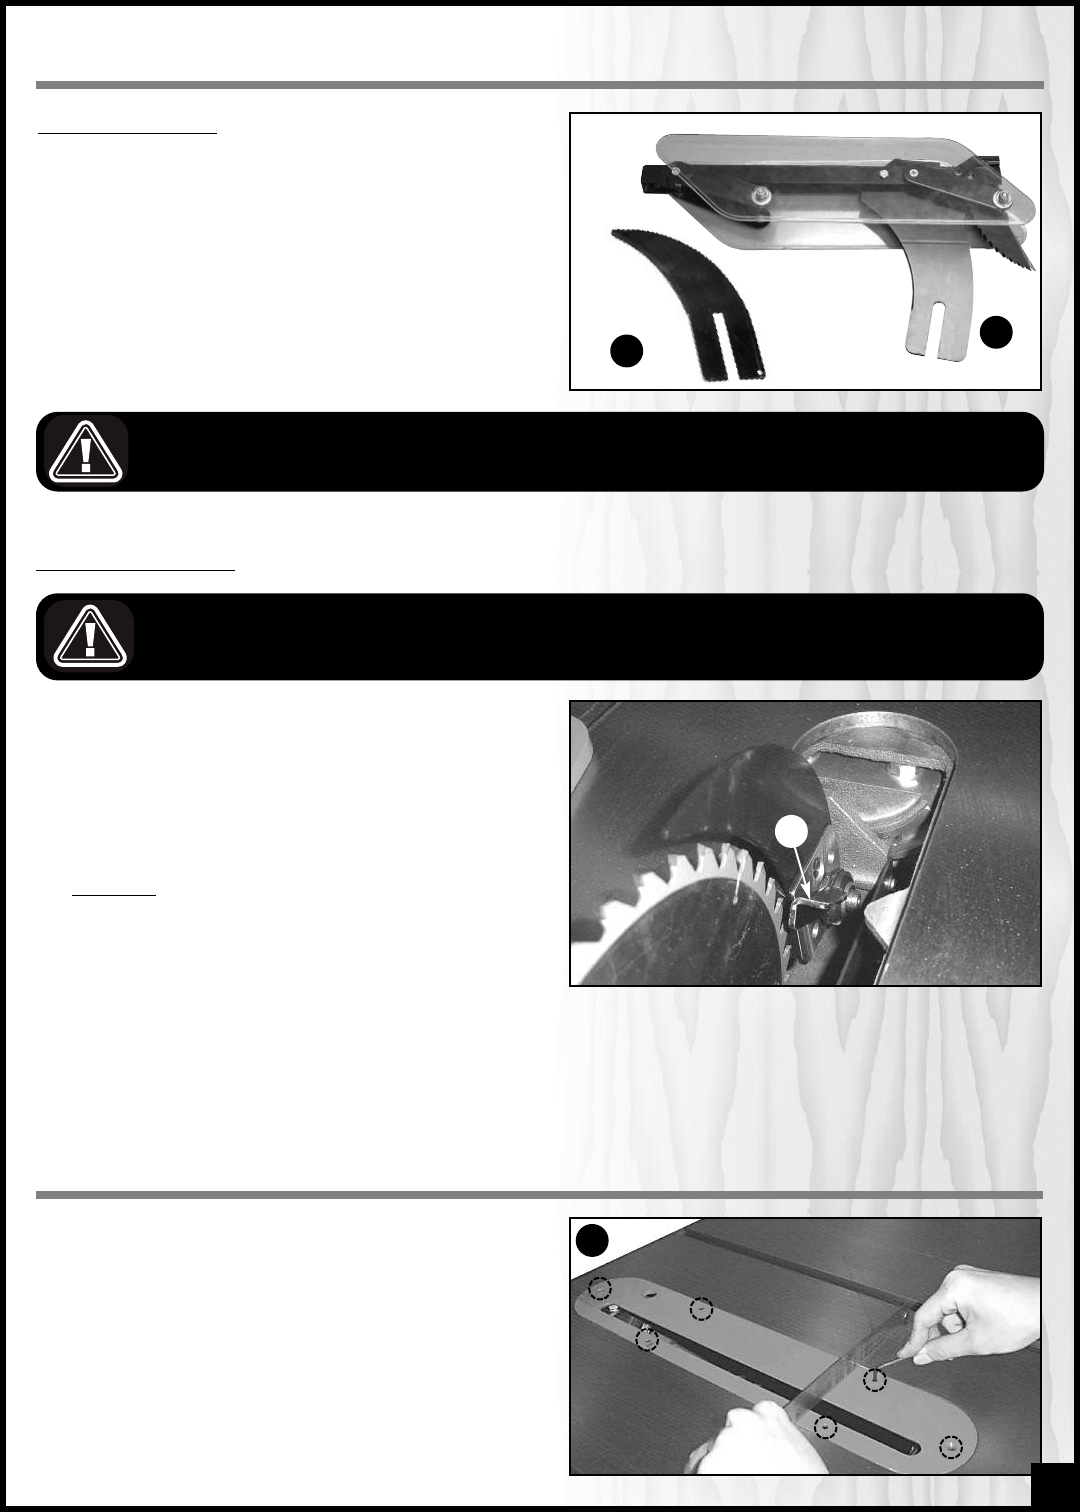
- INSTALL / REMOVE A SAW BLADE 12
- LEVEL THE TABLE INSERT 13
- ALIGN THE RIP FENCE 14
- CONNECTING TO A POWER SOURCE 16
- SWITCH OFF 16
- OPERATING INSTRUCTIONS 18
- DIAMETER IS 8" 20
- MAINTENANCE & ADJUSTMENTS 21
- CABINET AND TABLE 24
- BLADE TILTING MECHANISM 25
- PARTS LIST - 50-200R 26
- MITER GAUGE 28
- 50200R-F45 - RAILS ASSEMBLY 29
- FENCE & RAILS ASSEMBLY 30
- PARTS LIST - 50200R-A27 31
- Tel.: (514) 326-1161 32
- Fax: (514) 326-5565 32
Related products and manuals for Power tools General International 50-200R M1
 (20 pages)
 (28 pages)
© 2020, manymanuals.com. All rights reserved. | 0.038 s |
 Manymanuals.com
 Manymanuals.de
 Manymanuals.fr
 Manymanuals.it
 Manymanuals.pl
 Manymanuals.cz
 Manymanuals.es
 Manymanuals-pt.com
Comments to this Manuals